One-click Halftone
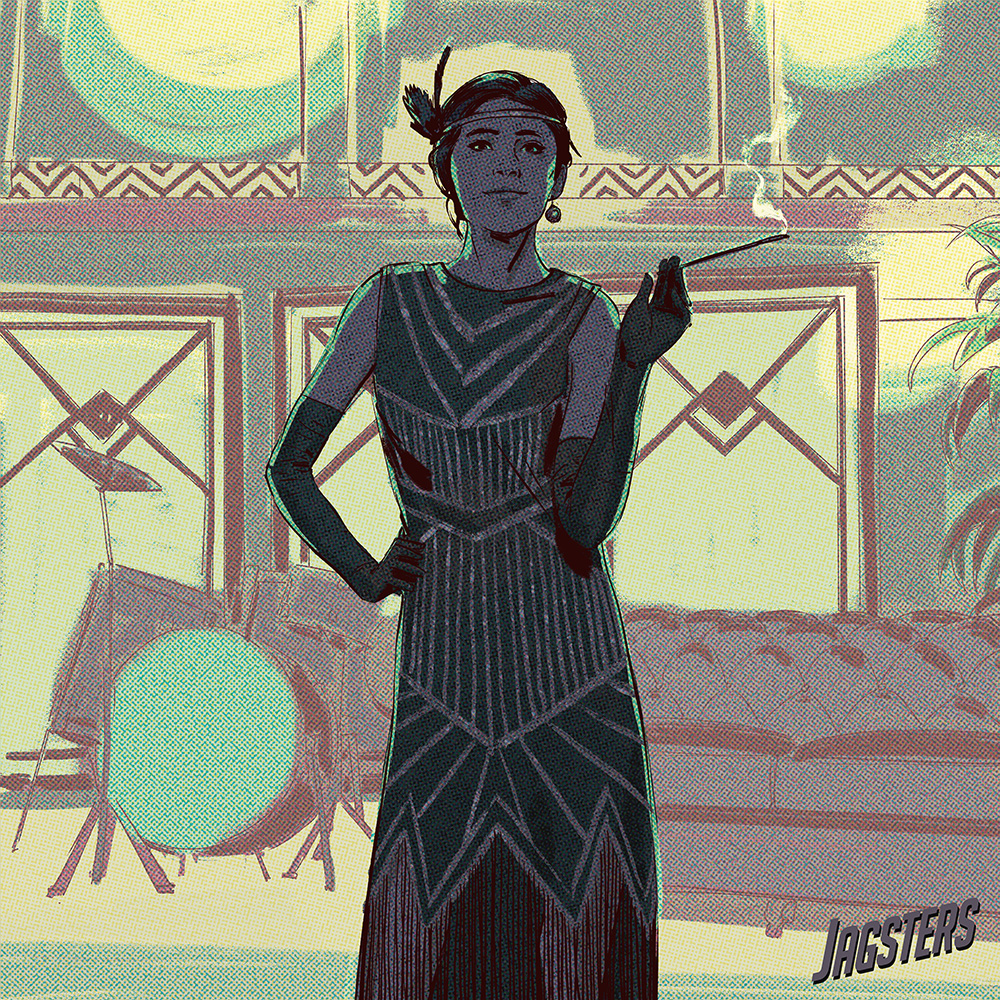
I absolutely love halftone. For starters, it’s a quick and straight-forward way to add texture and grit to your color. It breaks up an otherwise CG and Gaussian-feeling surface into something that feels tactile and analogue. In addition to that and particularly for Jagsters it reminds of the golden age of comics, where printing was less refined and the natural halftone patterns of printers more noticeable. It’s the perfect way to make an image feel alive and give it a touch of nostalgia. To simplify the process of adding halftone to your color I’ve created a one-click halftone action for Photoshop that you can get if you sign up for Patreon now.
Separating line from color
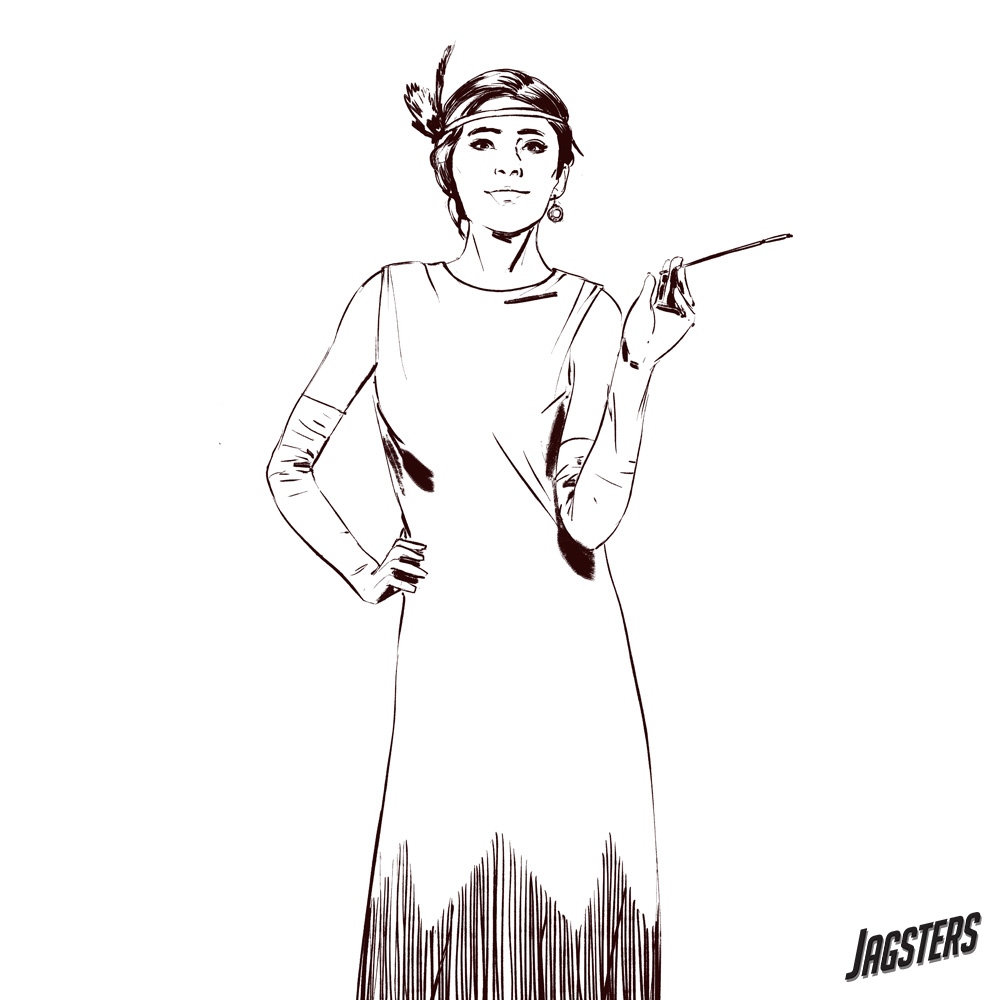
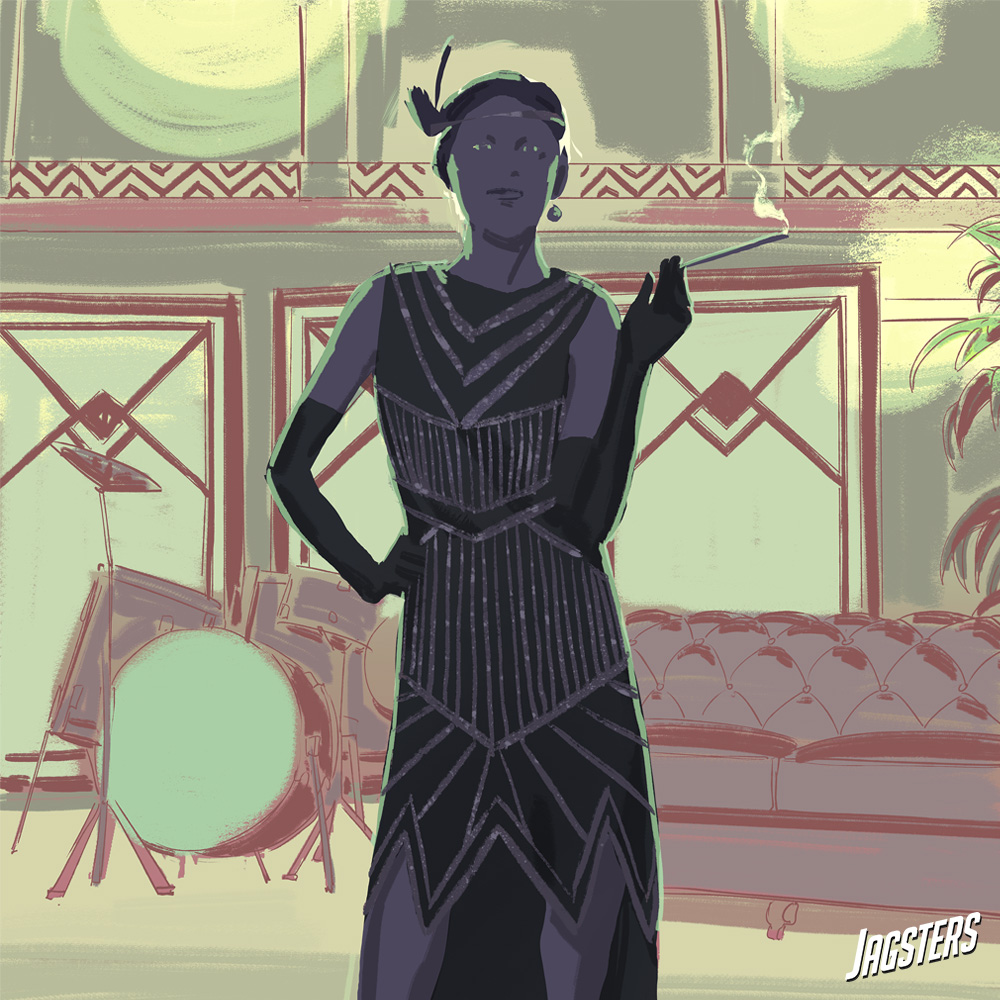
The process is pretty simple. The first thing you want to do is separate your color from your linework. We’re not looking to recreate true halftone for print, we’re looking to create the feel and texture of it, but in a sleek modern jacket. To achieve that we’ll exaggerate the size of the halftone and keep it uniform. We’ll also want to keep the linework on a separate layer so it can remain nice and crisp.
One-click Halftone
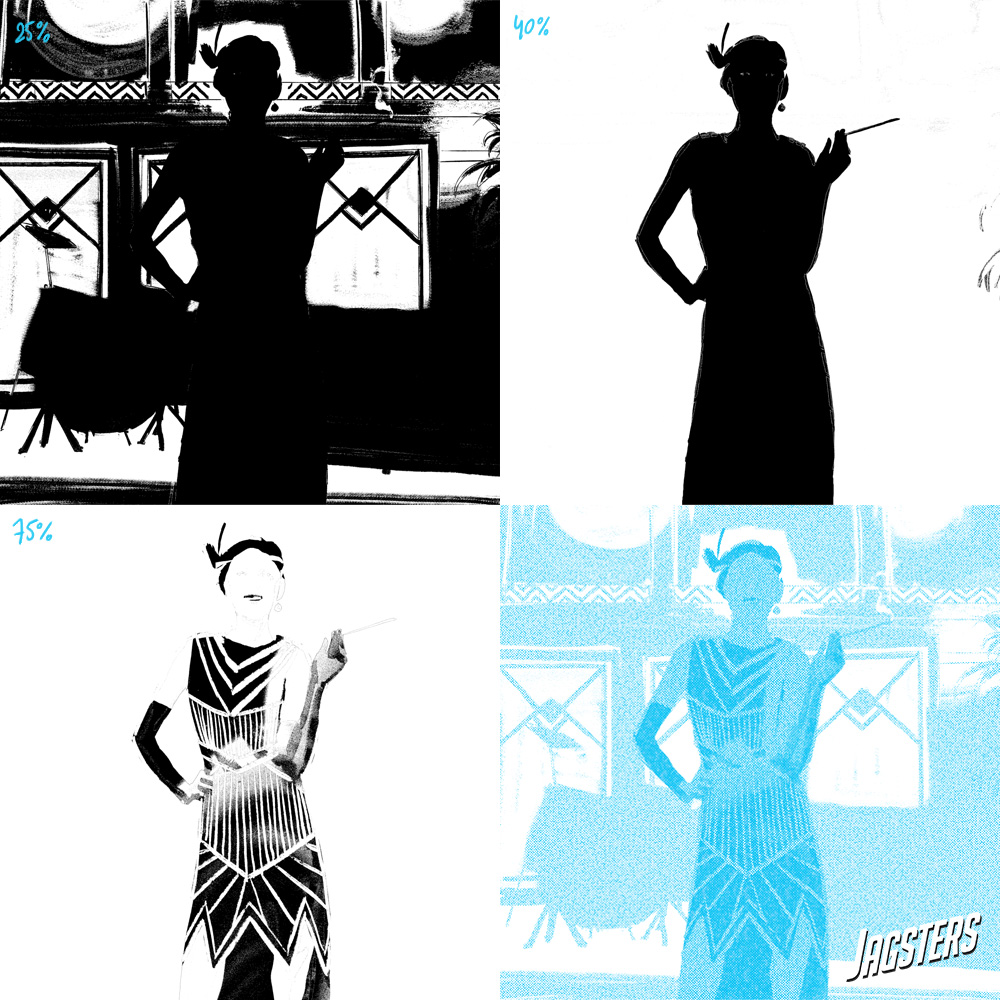
Next we’ll want to head to Photoshop and change the color of the image to CMYK so we can use all them tasty printing colors. In my one-click halftone action I’m working with 3 levels of halftone for each channel. One for 25%, one for 40% and one for 75% density. The difference between these is that the halftone pattern that’s used becomes thicker where a certain color is more present.
You’ll want to break up each channel into 3 separate density layers. Then apply the respective halftone patterns to those layers, in the appropriate color. In the example below, I’ve separated Cyan into 3 layers, and constructed them back with halftone patterns into a final Cyan print.
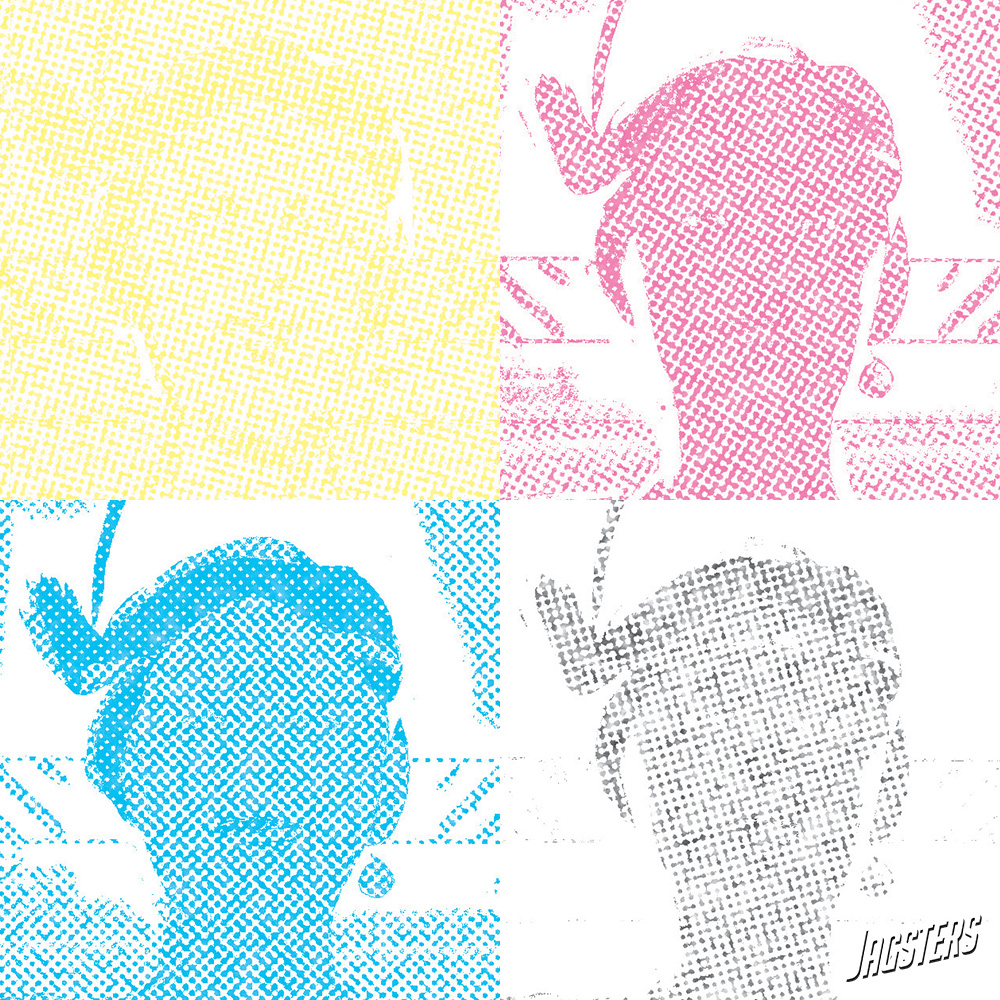
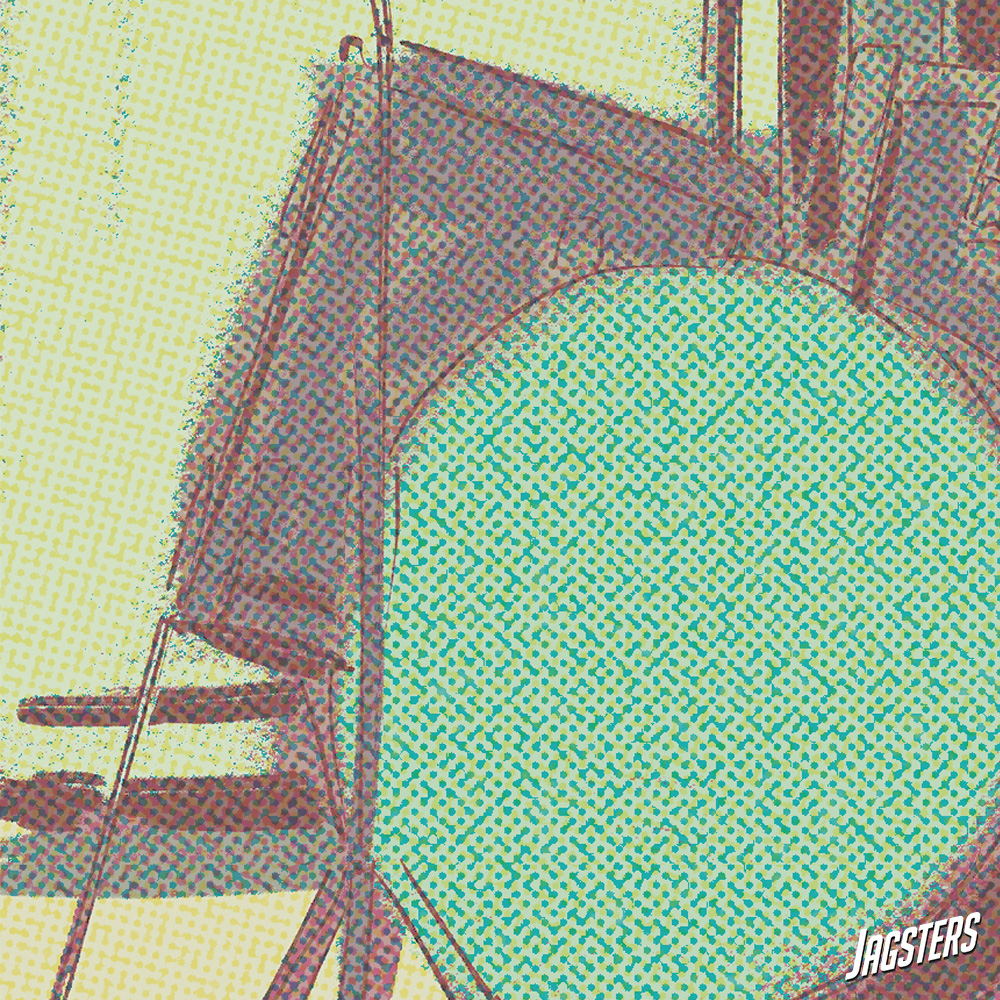
After that it’s just rinse and repeat for each color. I’ve rotated the halftone patterns by about 30 degrees each time, to counter the Moiré effect. It’s also a good idea to break up each halftone pattern with some noise or grunge, it’ll make your image feel more organic and it helps reduce Moiré too. Case and point, notice below how some halftone dots connect, and how none of them are perfectly round.
The fun part
Now it’s only a matter of multiplying your halftone colors together and add your linework. As I’ve mentioned before, it’s not about creating print-ready halftones, this is a purely stylistic choice so you can play around with each color and how thick you lay it on. I prefer blending the halftone layer with the original color about 75% so it doesn’t become to dominant. Happy halftoning!
